很多人不知道Excel表格中布局的主题设置?今日为你们带来的文章是关于Excel表格中布局的主题设置方法,还有不清楚小伙伴和经验啦一起去学习一下吧 。
Excel表格中布局的主题设置方法

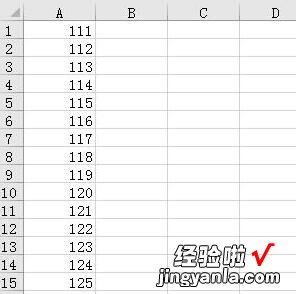
1、打开表格 。
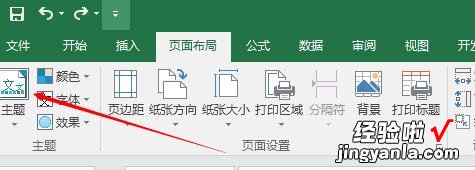
2、找到菜单中的主题按钮,点击主题按钮 。
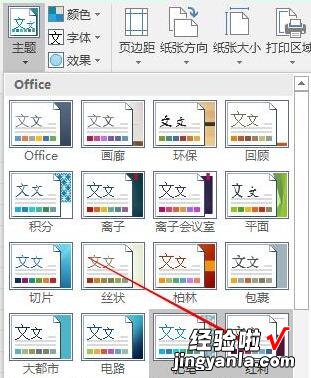
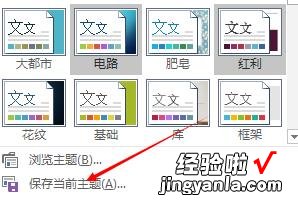
3、从弹出的菜单中找到需要的内容 。
【经验啦分享Excel表格中布局的主题设置方法】
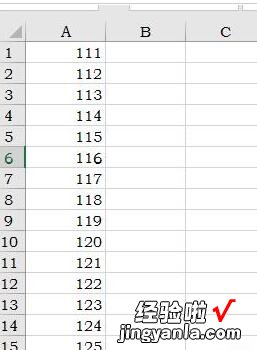
4、点击后发现单元格主题发生了变化 。
5、这个时候返回菜单中,找到保存当前主题并点击 。
6、选择保存的地址并点击保存按钮 。

上文就讲解了Excel表格中布局的主题设置操作内容,希望有需要的朋友都来学习哦 。